Accepting A Deposit


|
Accepting A Deposit |
|
|
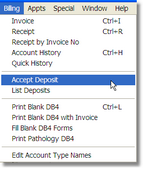
To accept a deposit, find and highlight the patient’s record in either the Patient List (Open > Patients), or the Appointment page then select Billing > Accept Deposit.
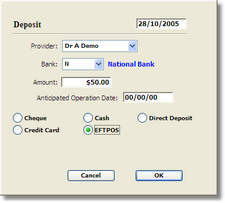
This opens the Deposit window as shown below.
Fill in the Provider and Payment details then click OK .
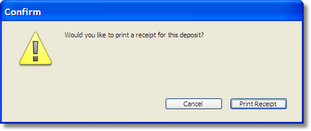
You will be asked if you want to print a receipt for the patient.
Click the Print Receipt button to print out the receipt. The receipt states that this cannot be used for Medicare purposes.
The message that displays on the Deposit receipt can be changed by going to Billing > List Deposits and clicking on the Edit Receipt Message button.
Entering in a new message and clicking OK will save this as the new message to print on Deposit Receipts. To return to the default message at any time, simply hold down the Alt key while clicking on the Edit Receipt Message button in the List Deposits window.
After accepting a deposit, a banking record is also created, and the patient’s account balance credited with the deposit amount. Note: A deposit should be accepted and applied on SEPARATE banking days ie. banking should be sealed between accepting and applying a deposit. Accepting a deposit and applying the deposit before sealing the banking batch will cause problems when trying to reconcile the banking. It will also produce incorrect data in the Billing vs Income report.
You can view all current deposits by selecting Billing > List Deposits at any time. |