The Attachments Window


|
The Attachments Window |
|
|
Open the patient's clinical record.
Click on the Attachments button.
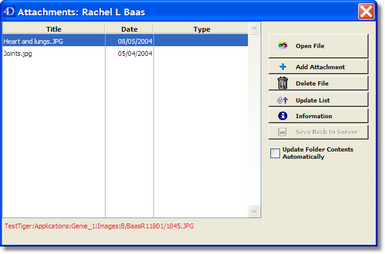
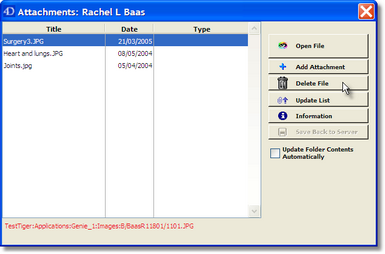
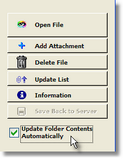
If ImagePro is NOT registered, the Attachments window displayed below will open.
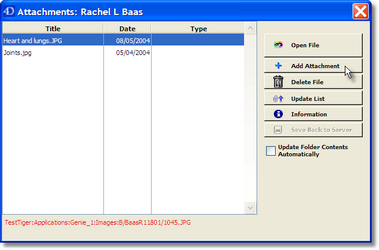
Adding an Attachment Click on the Add Attachment button.
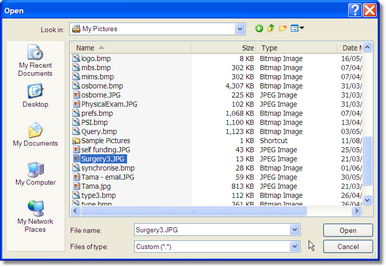
Select the file you wish to add in the Open window.
Genie will then copy the selected file to the patient's storage folder on the server machine.
This may take a few seconds to complete.
If Genie is unable to copy the file for any reason, you will receive an alert message warning you that the file was unable to be copied. Likely reasons for this are a lack of hard disk space, or a lack of memory. In general, Genie can copy files up to approximately 600Kb in size.
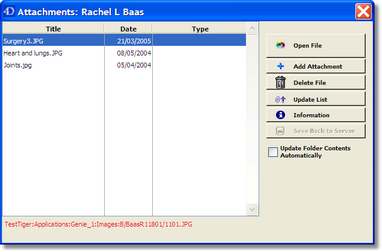
When an attached file is highlighted the Attachments window should look something like this.
The pathway to the storage folder for the selected attachment is displayed in red at the bottom of the screen. The suffix eg “jpg”,“bmp”,“pdf” etc. is displayed as the Windows type. On Macintosh computers, the Macintosh Type and Creator are also shown. Opening an Attachment You can use the Up and Down Arrow keys on the keyboard to highlight the attachment you want to open. It can then be opened by either double-clicking on it, pressing the Return or Enter keys, or by clicking the Open File button. What Actually Happens When the Open File button is clicked, Genie sends a request to the server, which returns a copy of the file stored on the server. This copy is then placed in a folder named TempImages which is created automatically inside the Genie folder on the client machine. It is actually this copy which is then opened by Genie. When the Attachments window is closed, any files in the TempImages folder are deleted. What This Means There are several advantages to this method of handling attached files:
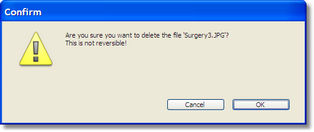
1. All attached images are stored on the server in a single folder for easy backup. 2. Several doctors/receptionists can review the same file at the same time because each is actually using a copy of the original. 3. On Macintosh, because Genie is internally copying the files to and from the server, you don't need to have File Sharing turned on in order to access a file on another machine. 4. On Windows, for the same reason as above, there is no reason to Share the Images folder. 5. This method still works in a mixed-platform environment. Even if the server is a Macintosh, Windows clients can still open a Macintosh file on the server, because when it is copied to the Windows client, it is recreated locally as a Windows file. The reverse is also the case if you have a Windows server and a Macintosh client. This assumes that the original file has a cross-platform parent application such as Photoshop, Word, Excel. Deleting an Attachment To delete an attachment, highlight the file you want to delete, then click the Delete File button.
Genie sends a message to the server requesting that the stored file be deleted.
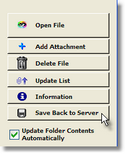
If for any reason the file is unable to be deleted you will receive a warning. The most likely reasons for this are that the file is locked, or is in use by another application. Saving Changes to an Image The Save Back to Server button will become activated after an image has been opened. It will save any changes made locally to a document back to the server's Images folder.
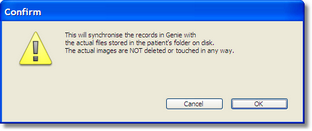
Updating the List The Update List button searches the patient's storage folder on the server, looking for any files situated in this folder which haven't yet been linked to the patient record.
If it finds any, these files will be automatically linked to the patient. You would use this button if you had manually placed any files into the patient's folder on the server.
If you do this regularly, for example if you are scanning correspondence directly into the patient's folder on the server, then you should check the 'Update Folder Contents Automatically' checkbox.
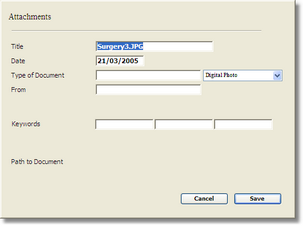
The Update procedure will then run whenever the Attachments window is opened. Adding Information You can record a variety of information about each attachment, including its type, who it is from, and a number of keywords to allow searching the database for all attachments of a particular type or description.
Highlight the Attachment to edit, then click the Information button to open the window shown below.
You can change the name of the attachment here also. Genie will automatically change the name of the file on the server.
Note: You cannot have 2 files with the same name in this list because the operating system will not allow you to have 2 files of the same name in the same folder. |