Setting up the 4D Write Area


|
Setting up the 4D Write Area |
|
|
Before filling the body of the letter it is a good idea to perform a few basic setup tasks.
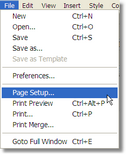
First, select File > Page Setup and make sure that this is set to A4 and that the correct printer has been selected.
Determine whether or not you want to have headers and/or footers. Headers are a separate area at the top of a word-processing document which will print on every page of a multi-page document. They are usually used for page numbering. Footers are a separate area at the bottom of the page which also print on every page of a multi-page document.
The majority of people choose not to have headers and footers. Whether or not you have headers and footers is unimportant. What is important is that you are consistent. If you do have headers and footers in this type of letter, you should also have them in all your letter templates. Otherwise,when an ordinary letter template is copied into patient correspondence you may end up with a duplicated letterhead.
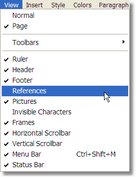
To select or deselect Headers and Footers, use the View menu.
Selecting the Header or Footer option will either tick or untick this option.
Finally, you should set the printable margins.
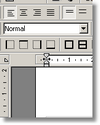
The numbered scales along each side of the letter are called Rulers.
If you place the cursor over the current margin setting, it will become a double-ended arrow as shown in the picture below.
You can now click and drag the margin up or down to suit. This has the effect of moving the body of the letter either closer or further away from the top edge of the paper.
You can do the same for the other three sides of the template to adjust the left, right and bottom margins.
If you are using a header, then clicking within the header area allows you to do the same to adjust the size of the header. |