Creating the Letter


|
Creating the Letter |
|
|
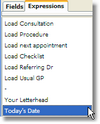
The actual letter can be created quite quickly using the Expressions Tab. This will insert various pieces of data at the point where the cursor is flashing, by either double-clicking or dragging and dropping the required Expression. For more information on what each expression will insert, refer to Referral/Reply Letters.
E.g. First, select Your Letterhead from the Expressions Tab and either double-click or drag and drop this expression onto your letter. This inserts the Letterhead you have set up in either Practice Preferences or your individual User Preferences (File > Practice Preferences or File > User Preferences).
Press the Return key to move down a line, then select Today's Date from the Expressions Tab. The following window will appear, asking how you would like the date to be formatted.
Select your preferred format from the list on the left. Select <No Time> from the list on the right, unless you want the time to be displayed on the letter.
Remember to also select the Automatic Update checkbox, otherwise whenever you use this template the date displayed will always be the date on which you created the template!
Note: You can change the Date Format at any time by double-clicking on the Date on the page.
Move the cursor down another couple of lines, and select Patient's Address from the Expressions Tab.
Move the cursor down another couple of lines, then begin the actual letter. Type "Dear ".
We now want to reference the patient’s title and Surname, so that no matter what patient we send the letter to, it will have their correct title and name e.g. “Dear Mr Smith” or “Dear Mrs Jones”.
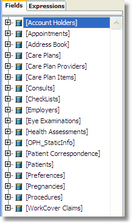
To do this we will need to use the Fields Tab, to reference the Title field.
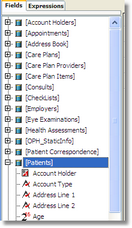
This displays a list of tables in the database available for referencing within letters. Click on the plus (+) sign or the arrow to the left of the Patients table, and all the fields in the Patients table will appear in a list.
Select the Title field as shown below, and either double-click or drag and drop this field onto the template.
Repeat these steps to insert the Surname field.
You can then proceed to write the desired letter. e.g. A recall letter using Recall Date and Recall Reason in the Expressions Tab, or an Appointment Reminder, or Medical Certificate letter using the [Appointments] start date from the Fields Tab.
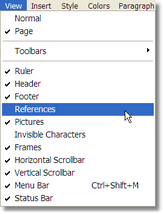
You can see what references you have inserted by clicking the View > References which will display the references in grey.
Alternatively, use can use the View References
Note: Be sure to turn this view off before saving the template. Otherwise, your templates will print out with the references instead of the patients details! |